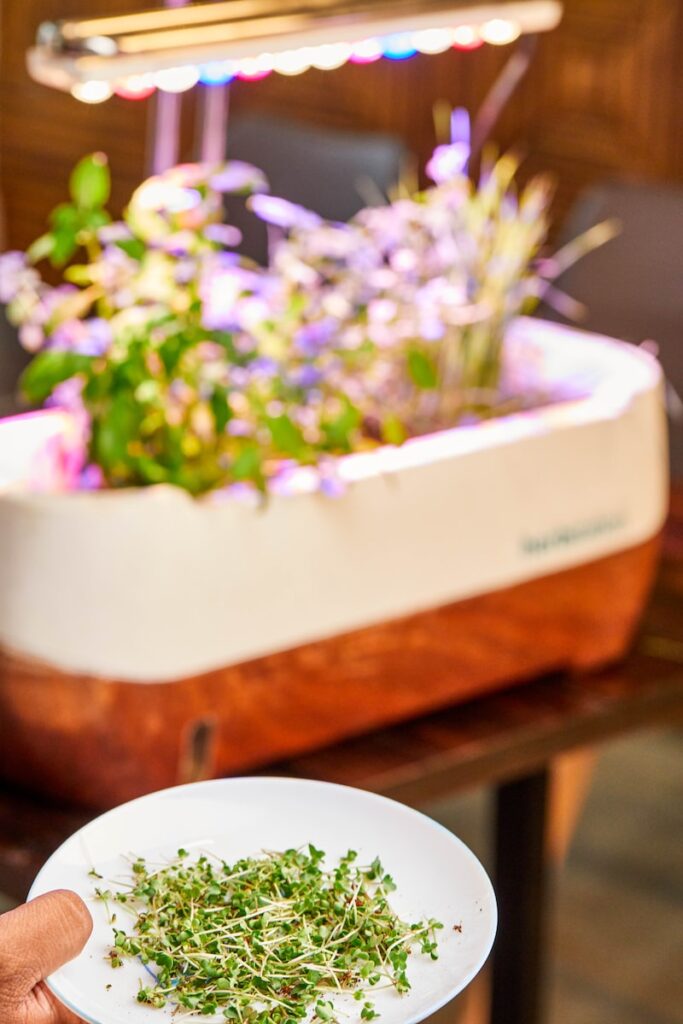
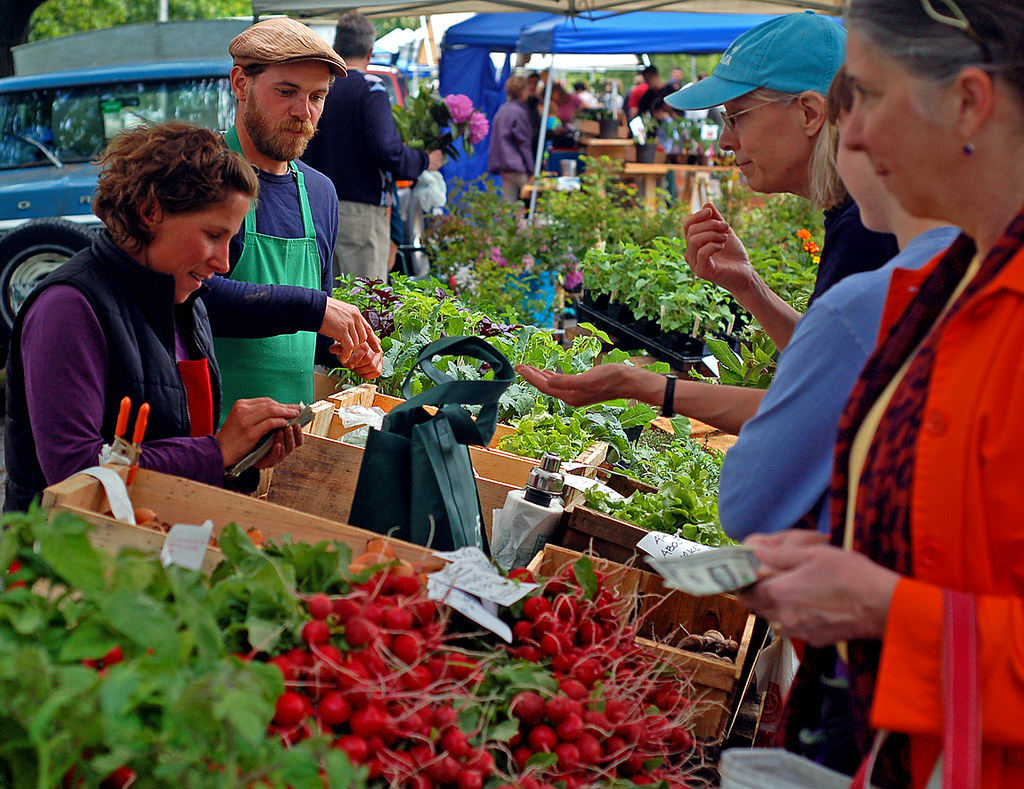
Microgreens aren’t just for farmers market stands and restaurant garnishes anymore. Home gardeners can now grow their own microgreens from seeds and sell them at local markets or even on their own websites.
Even though they’re small, these greens pack a nutritional punch that you won’t find in most other vegetables. Microgreens are also easy to grow at home, so anyone can create an organic farming business with minimal start-up costs involved!
Wash hands thoroughly with antibacterial hand soap.
If you’re going to handle food, it’s important to wash your hands thoroughly. This is particularly true if you have a cut or wound on your hand because bacteria can enter the wound and cause infection. Antibacterial soap is ideal because it kills off as much bacteria as possible, but plain soap (without antibacterial properties) will still help keep your hands clean and free of harmful bugs.
Wet hands with warm water. You want the water to be hot enough that it feels uncomfortable on your skin—this will open up pores in the skin and allow for better cleaning power.* Rub your hands together vigorously for 15 seconds.
This helps melt away any trapped dirt or grime between fingers.
Rinse under cool running water for about 45 seconds.
Dry well with a paper towel or cloth towel—you don’t want moisture from wet towels harboring dangerous pathogens!
Gently rinse the microgreens in cold, fresh water.
- To prepare a bowl of cold water, use a sanitized bowl and fill it with fresh tap water.
- Use clean hands to rinse each microgreen thoroughly in the cold water for about 30 seconds or until you don’t see any dirt or other residue left on the leaves.
- Drain excess moisture from the bottom of your colander by gently pressing down with your hands until all excess moisture has been released from the stems and leaves. Do not bang on them like crazy because this will damage them!
- Use a towel or rack to dry off any excess water that may still be clinging to their stems and leaves before continuing to package them into small airtight bags (see next step).
Get a salad spinner and spin the microgreens dry.
To keep your microgreens fresh, it’s important to get them dry after washing. The best way to do this is with a salad spinner.
A high-quality salad spinner can be expensive (we spend about $100), but they’re worth every penny. They’ll last for years, if not decades—and they’ll save you money on paper towels and kitchen rags!
To use the salad spinner for drying microgreens:
- Place your greens in the bowl of the salad spinner, then add just enough water to cover them completely (about 1/2 cup).
- Put on the lid of the salad spinner and spin until all excess water has been removed from your greens (usually 3-5 minutes). If there’s still too much water left over after spinning dry, repeat step 1 until you achieve success!
Use kitchen scissors to cut the greens into smaller pieces if needed.
If the greens are very long, use kitchen scissors to cut them into smaller pieces. If you need to trim them down a bit, it’s best to use a sharp knife rather than your hands (or even a food processor or blender).
Pack the microgreens into plastic bags or containers.
Use your hands to arrange the leaves, stems, and flowers so they fit snugly in the container.
You can seal bags using a heat sealer or twist ties, but if you do use twist ties make sure they are not too tight as they could damage the plant material. Label each bag with its contents and recommended uses to help customers identify which microgreens they want to purchase.
Seal the bags or containers using a heat sealer or by tying them shut with twist ties.
Heat sealers are useful for sealing containers and bags closed. To use a heat sealer, place the container or bag in between the two heating pads. Press down on the handle until you hear a click and feel resistance. Then pull up on it to remove it from the machine.
Other methods of sealing bags include using twist ties and rubber bands to keep them shut, but these can be more time-consuming than using a heat sealer if you’re packaging many different varieties of greens at once.
Stick a label on each bag or container displaying the name of the microgreen, current date, and any relevant information.
It is important to label your microgreen bags or containers. This will allow customers to see exactly what they are buying and help them make an informed decision about what you are selling. There are a few different ways you can label your product:
- Use a label maker that can print out multiple labels at once
- Print out labels on blank sheets of paper using a printer and then cut them out with scissors
- Hand-write the name of the microgreen, current date, and any other relevant information onto blank sheets of paper
Put food coloring in water and use it to mist your greens every few days to keep moisture in your plants.
If you are selling your microgreens at farmers markets, packaging them properly is important. If you don’t package your greens correctly, they will dry out and die quickly. To keep moisture in the plants, add food coloring to the water and use it to mist the greens every few days.
To learn more about growing microgreens, read our blog post on how to grow microgreens at home.
Microgreens are a great way to grow and sell food. They’re easy to grow, easy to sell, and can be grown in small spaces.
Microgreens are an excellent choice for beginner farmers. They can be grown indoors or outdoors and will thrive in almost any climate. Microgreens are also popular with experienced growers because they’re so easy to care for—you don’t even need a lot of space!
Conclusion
Growing microgreens at home is easier than you may think! It’s also a great way to save money on your grocery bill and get fresh ingredients for your meals. Plus, it gives you more control over what goes into the food that you eat.
If you have any questions about this post or would like to learn more about growing microgreens at home, please leave a comment below.
We’ll be happy to help!